Preparing your VM for Windocks
Once your SQL Server 2022 VM is deployed and after you have joined it to your AADDS domain, you can follow the steps below to prepare your virtual machine and SQL Server for Windocks installation.
- Login to your VM as the administrator.
- Download your Windocks installer to your Downloads folder
- Use Notepad to create prepare a key.txt file with just a single line containing your license key.
Your Downloads folder might look like this.
- Use SQL Server Management Studio (SSMS), already installed on the VM image, to connect to your default SQL Server database instance. You should be able to connect using Windows Authentication to this default instance.
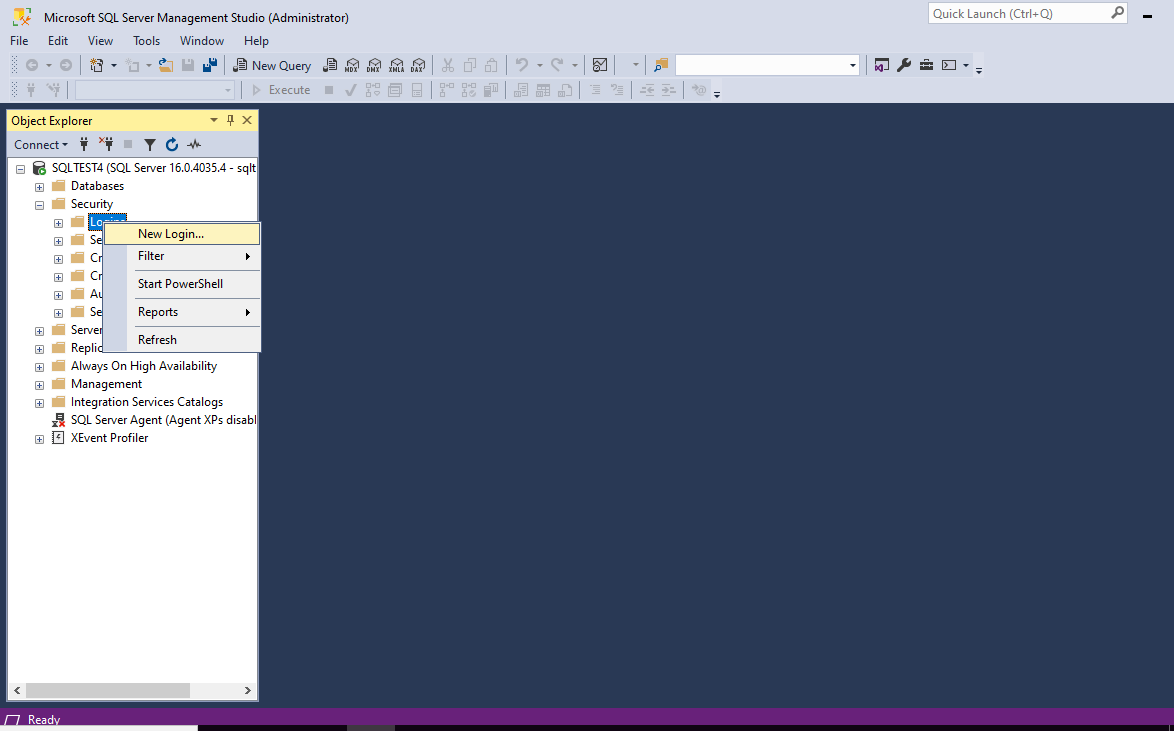
- In SSMS, expand the database, right-click on Security and click New Login...
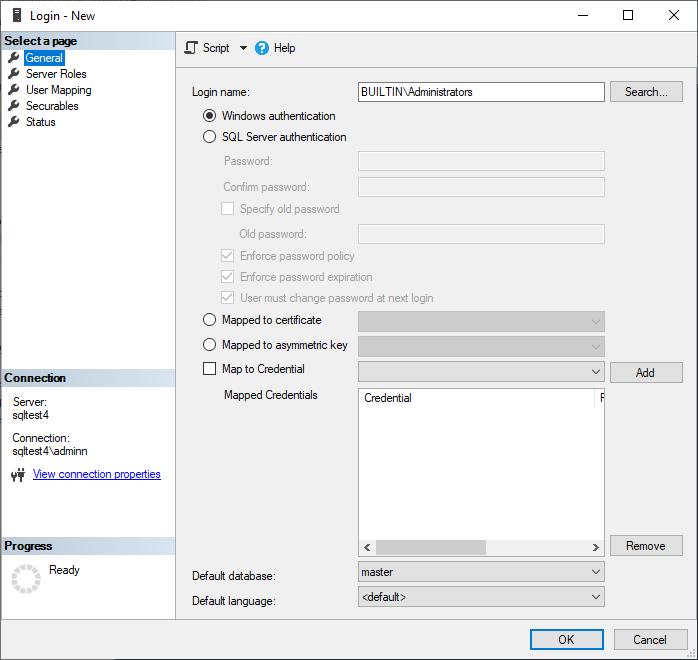
- In the Login - New window, enter BUILTIN\Administrators and click OK.
- Expand the Logins folder to expose the different logins, right-click BUILTIN\Administrators, and choose Properties.
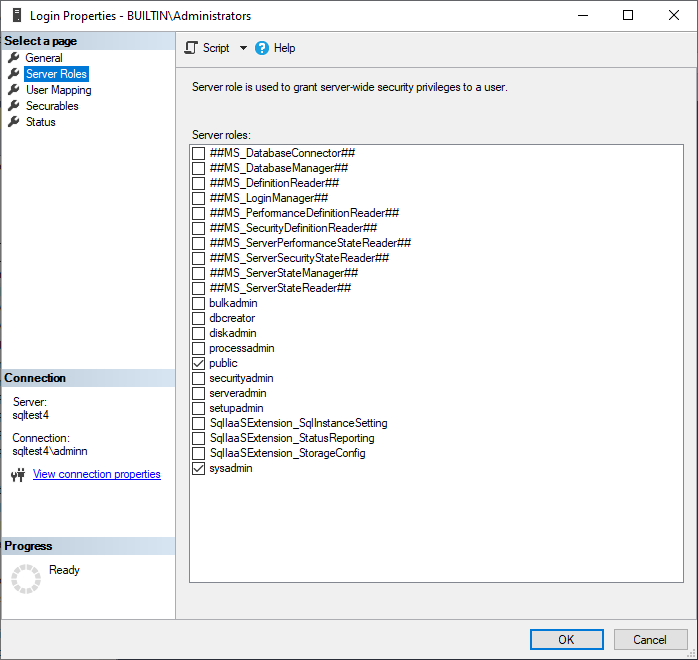
- In the Login Properties window, choose Server Roles from the left pane, check sysadmin and click OK.
- Optional. If you have any default users you would like to add to containers, follow these steps to add AADDS users using SSMS.
You are now done with SSMS and may disconnect from the default database instance. You will not be using this default instance any further as your subsequent Windocks installation will disable it.
You are now ready to run the Windocks installer.
Installing and Configuring Windocks
To run well on the default VM provided in the Azure Marketplace, you should follow these instructions for installation and post-installation prior to using Windocks for the first time.
- From your File Explorer downloads window, double-click your Windocks install executable. Expect this install process to take some time, as it is installing Windows server roles to enable both the web UI and database virtualization functions. Please note that the installation process will require a server reboot to complete.
- After the computer has rebooted, move your key.txt you created in step 3 to your C:\Windocks directory. You may need to overwrite an empty C:\Windocks\key.txt file already in the directory.
- Use notepad to open up C:\Windocks\config\node.conf. Navigate down to the section titled "Disk locations for containers and VHDXes". Remove the # characters to uncomment the CONTAINER_BASE_DIR and VHD_PARENT_DIRECTORY lines and replace the paths with paths to the desired locations. Save the changes to the node.conf file.
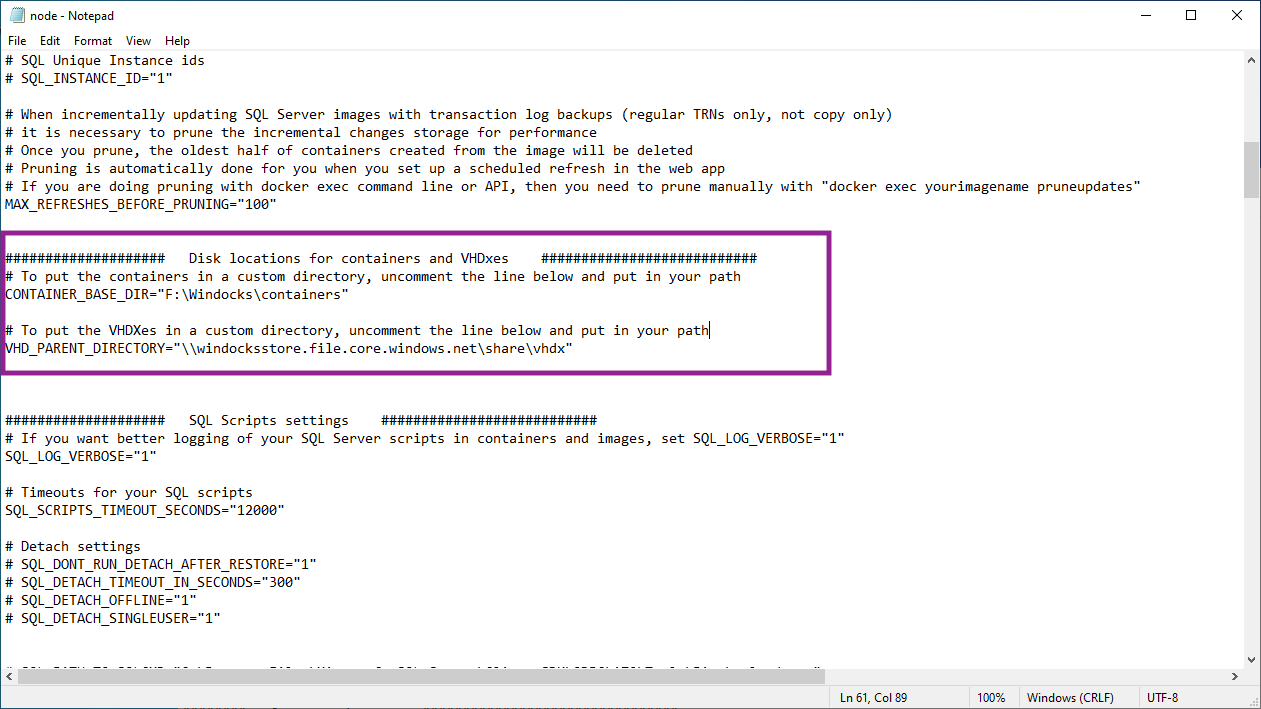
The CONTAINER_BASE_DIR parameter must point to a locally attached disk or on a low-latency native Window file share (NOT an Azure file share) specified by fully qualified UNC name. It is recommended that you change the CONTAINER_BASE_DIR to a drive other than the system disk, as each container can consume about 1GB for SQL Server 2022. In the sample screenshot, a new directory was created on the local F: using File Explorer prior changing the CONTAINER_BASE_DIR value, as Windocks does not create the specified directory.
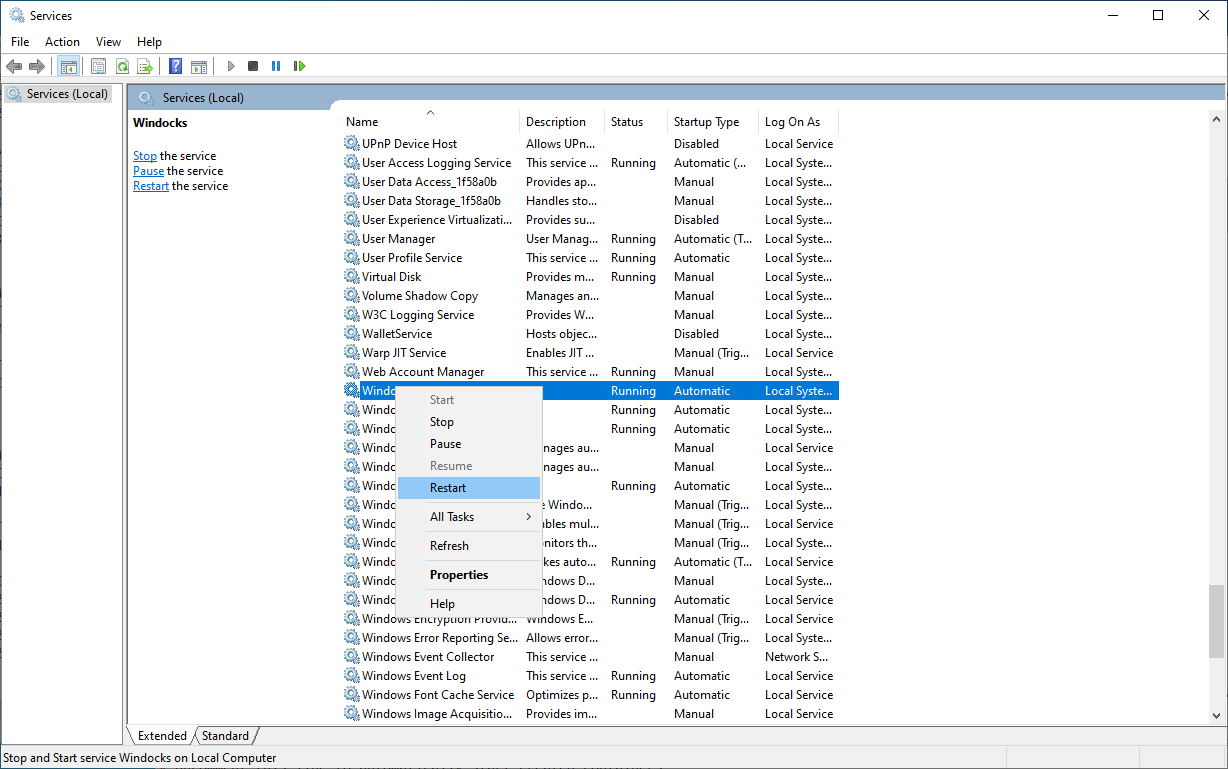
The VHD_PARENT_DIRECTORY parameter should also be changed from the default system disk. You can use either a locally attached disk, a low latency native Windows file share, or an Azure file share. If you utilize a Windows file share or an Azure file share, you should use fully qualified UNC names. The sample screenshot assumes that the Azure file share was prepared for use by Windocks prior to installation. - To apply the new key.txt file and the changes to your node.conf file, open services.msc and restart the Windocks service.
Please note that these global configuration settings for CONTAINER_BASE_DIR and VHD_PARENT_DIRECTORY should be changed before you use Windocks for the first time. If you want to change these settings after you have used Windocks, you must delete all images and containers in your existing Windocks installation before changing these settings again.
You are now ready to use Windocks!
Your first database container
Much of the power of the orchestration provided by Windocks is specified through a dockerfile. The dockerfile can specify source databases, scripts to run, and more.
Windocks ships with a number of sample dockerfiles in its C:\Windocks\samples directory. A very simple example is located in the directory C:\Windocks\samples\cloneFromFullBackup.
Modifying the sample dockerfile for your Azure VM
Because the default VM utilizes SQL Server 2022, you should plan to modify the sample dockerfile to use SQL Server 2022 instead of the SQL Server 2019, as specified in the sample as shipped. You can also optionally modify the dockerfile to retrieve backups from an Azure file share that has been set up to work with Windocks.
- Optional: Copy the backup file C:\Windocks\dbbackups\customerdatafull.bak to your Azure file share to demonstrate how Windocks can read backups from Azure file shares when set up properly.
- From notepad, open C:\Windocks\samples\cloneFromFullBackup\dockerfile
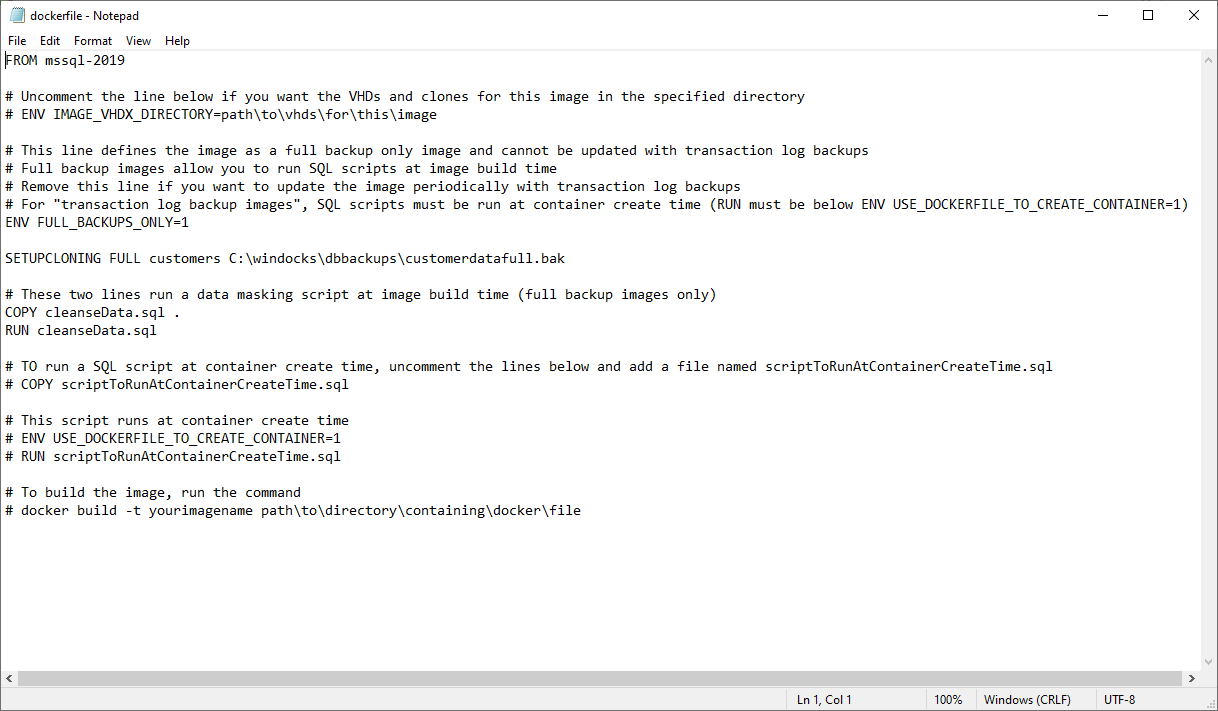
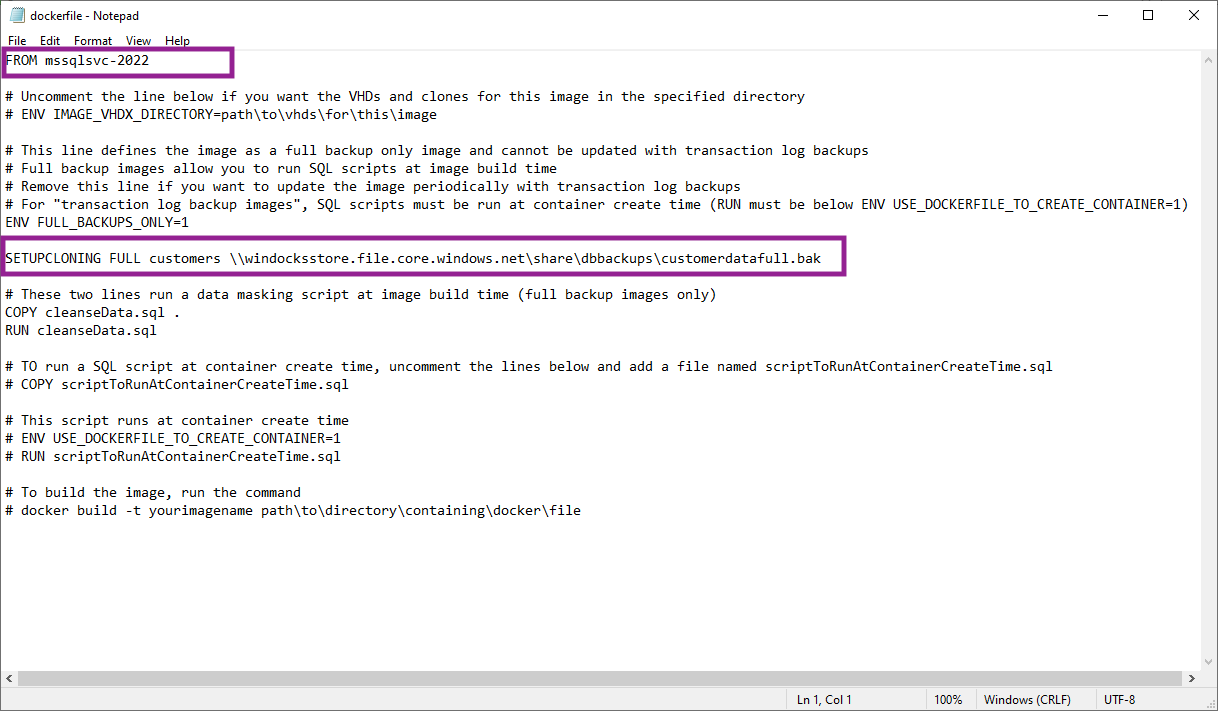
- Change the first line of the dockerfile from "FROM mssql-2019" to "FROM msqlsvc-2022" and save the file. This step is required as the default SQL Server image from the VM image is SQL Server 2022, not SQL Server 2019.
- Optional: Edit the path specified in the SETUPCLONING command to a fully qualified UNC path for the backup file in your Azure file share. Save the dockerfile.
You can now use this dockerfile to build a Windocks image and to create your first container.
Building your first image and container
The following instructions utilize the docker command line, which is only available via RDP to the Windocks server. There is also a web user interface and a REST API.
To build your first container:
- Open a cmd window
- Type cd C:\Windocks\samples\cloneFromFullBackup
- Type docker build -t test1 .
(Note the period as the last argument to denote the current directory.) Your output will be similar to the following.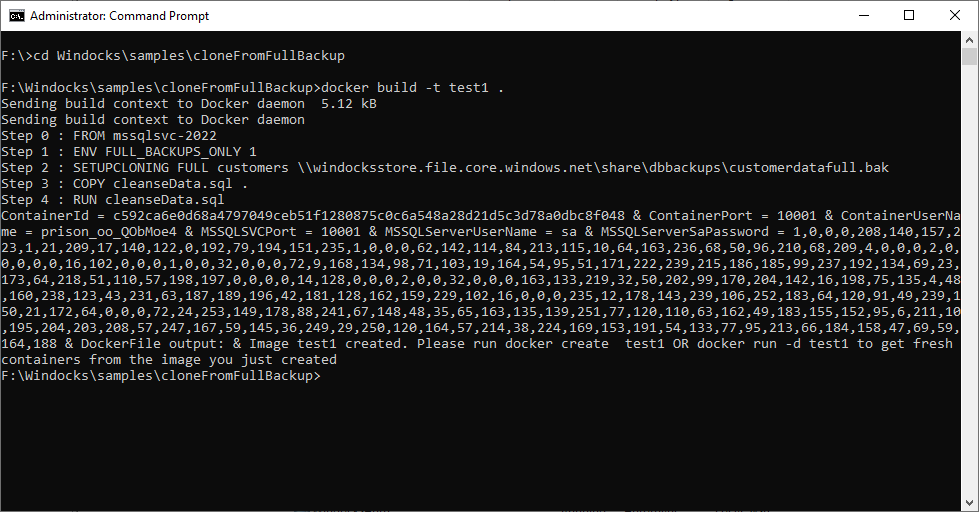
- Type docker create test1
Your output will be similar to the following: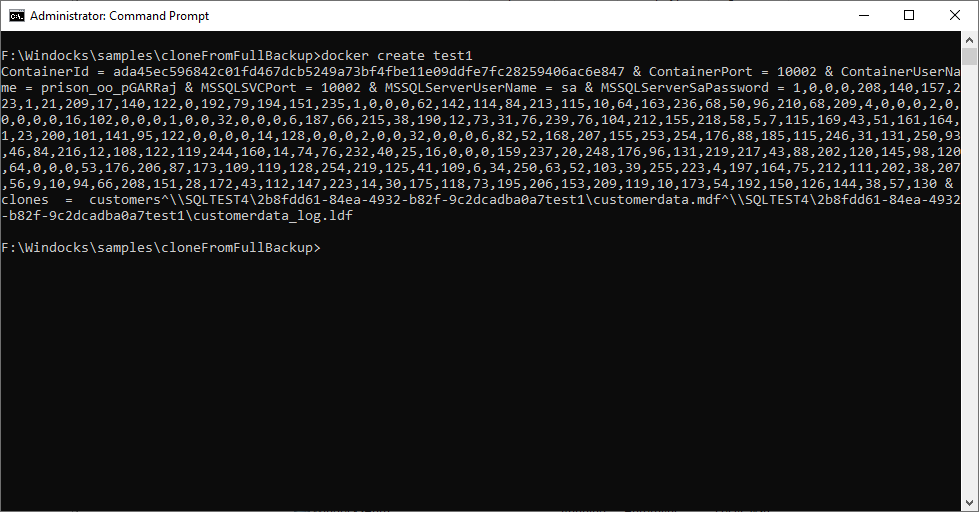
Note the first few characters of the ContainerID. In the screenshot example, the first few character were ada4.
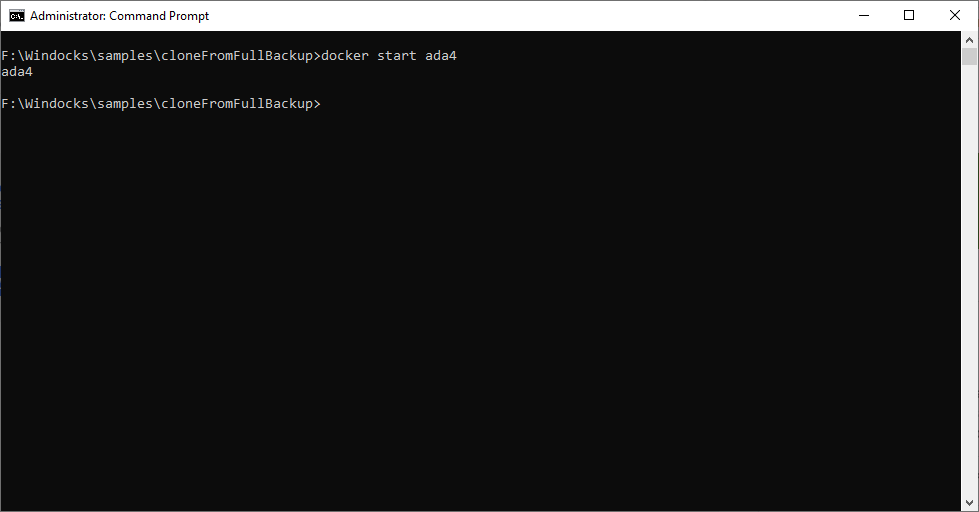
Note the ContainerPort output. In the screenshot, it was ContainerPort = 10002. - Type docker start followed by the first few characters of the ContainerID. Windocks will return the ContainerID characters.
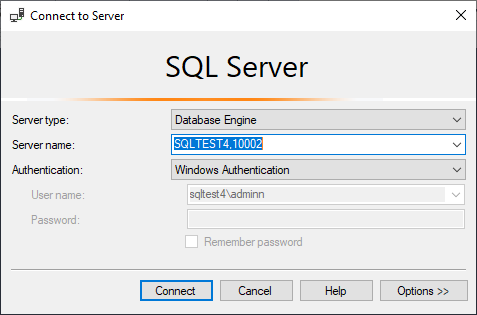
- From SSMS, login using your hostname,ContainerPort. (Note the comma between the hostname and ContainerPort). From your administrator account, you should be able to login with the default Windows authentication.
After the database is connected, you should be able to browse the database.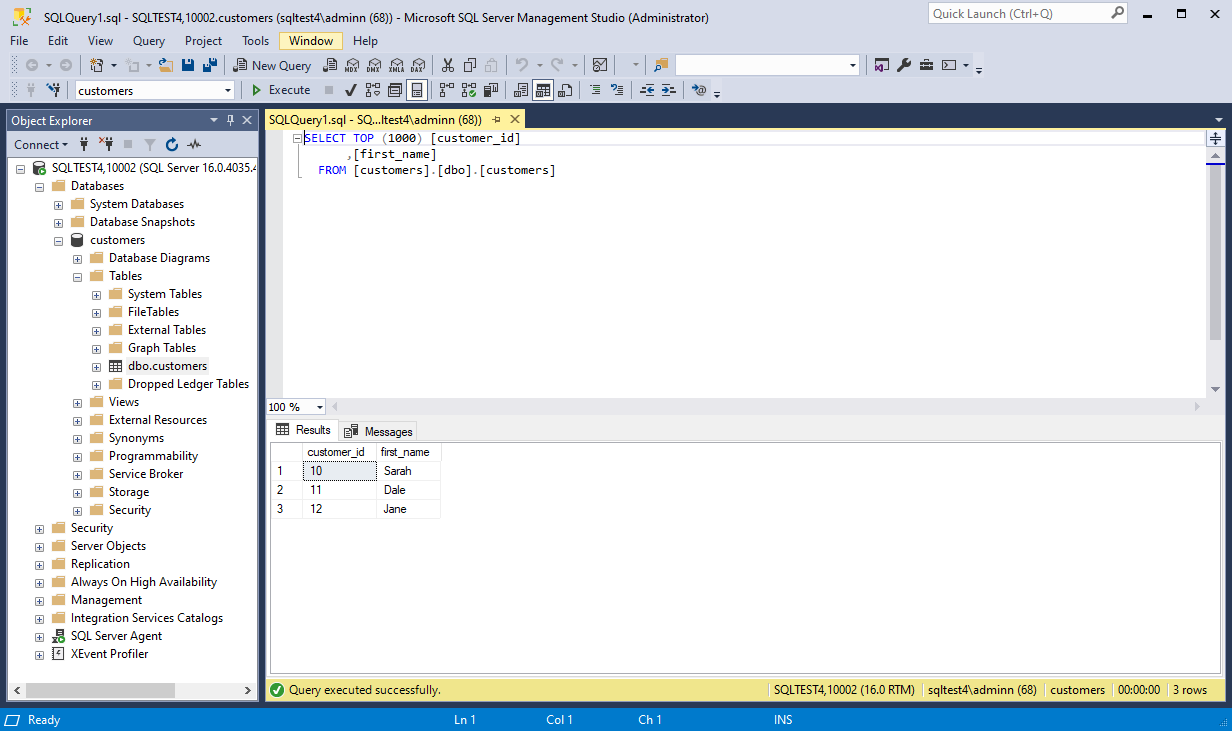
Congratulations, you've created your first database container using Windocks on Azure.
Deploying multiple containers
Repeat the same process outlined above with your own test data. To see your list of running docker containers, use the docker ps command.
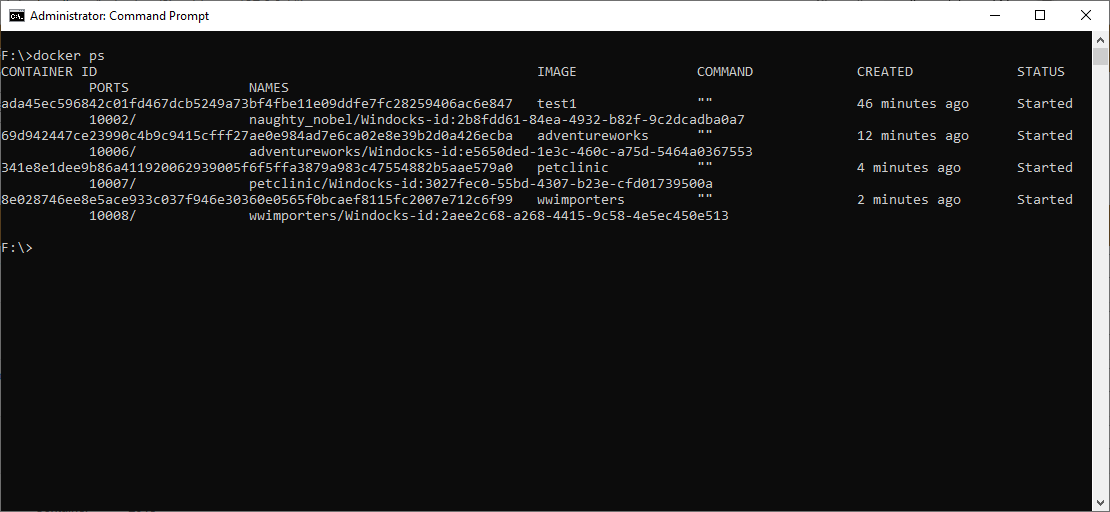
Windocks provides the unique capability in Azure to run multiple, isolated database containers efficiently on same Azure VM - all accessible by hostname or IP address and port number.
If you changed your default container directory, you can see the container files in the directory specified in node.conf. You'll notice each of these containers only requires 1GB overhead on SQL Server 2022, independent of the size of the underlying databases.

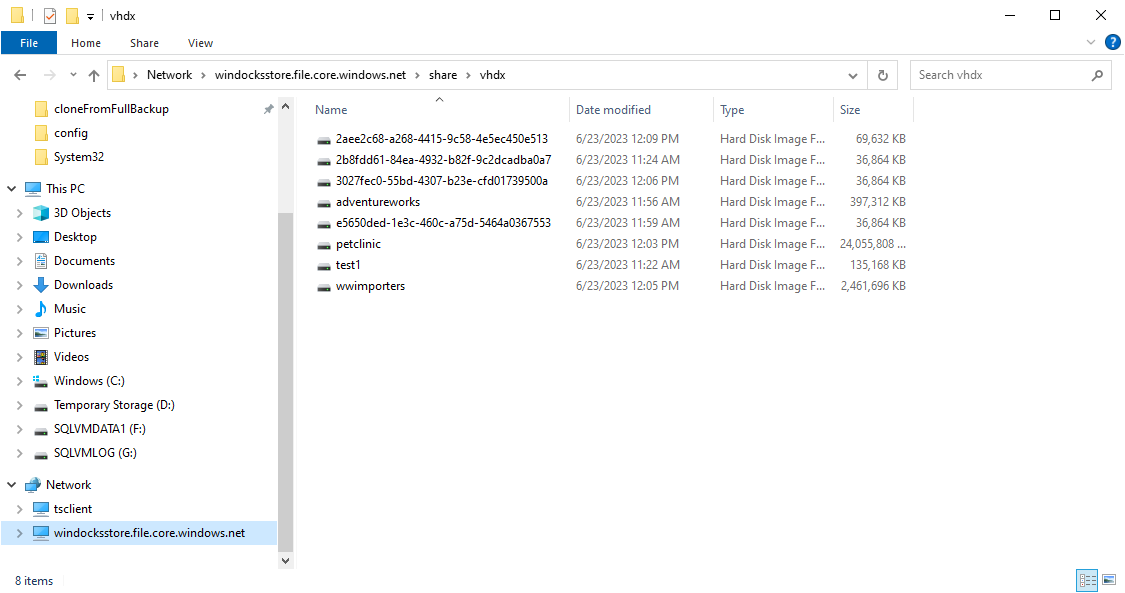
The actual data for these databases reside in virtual hard disks used for database images and clones. In this example, an Azure file share was used to store the virtual hard disks.
When multiple writable database containers are deployed on the same base image (noted by the "friendly" names in the directory), Windocks utilizes zero copy cloning to save disk space, only utilizing additional space (noted by the "non-friendly" names in the directory) for the differences written.
The following screenshot shows the VHDX files residing in the directory specified by node.conf.
With Windocks in Azure, you can reduce your infrastructure on management costs significantly, both by consolidating multiple SQL Server environments onto a single VM and utilizing zero copy cloning to save on storage.